Basement Renovation

If you’re a homeowner in Alameda, Berkley, Oakland, El Cerrito, and Piedmont, CA.

Framing is the First Step

Beams and other load bearing walls are installed prior to the removal of the shoring. The next step is installing the interior wall framing and windows. Our clients often continue to live upstairs throughout the project, so utilities are often maintained temporarily in their existing locations until they are relocated.
Framing is the First Step
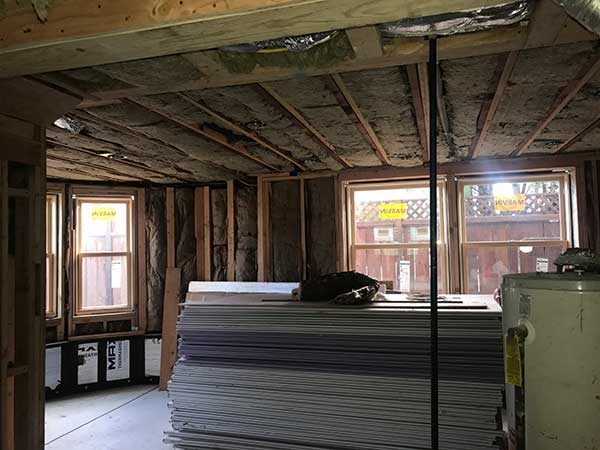
Proper Insulation is Crucial

Proper Insulation is Crucial

Ceiling and wall insulation is installed, along with waterproof rigid insulation at the concrete since the foundations can get cold and damp. Some clients wish to dampen the sound transmission between the downstairs and upstairs. The easiest way is to install resilient channel under the ceiling sheetrock, and beyond that there is Quietrock sheetrock and more elaborate measures to further decrease noise.

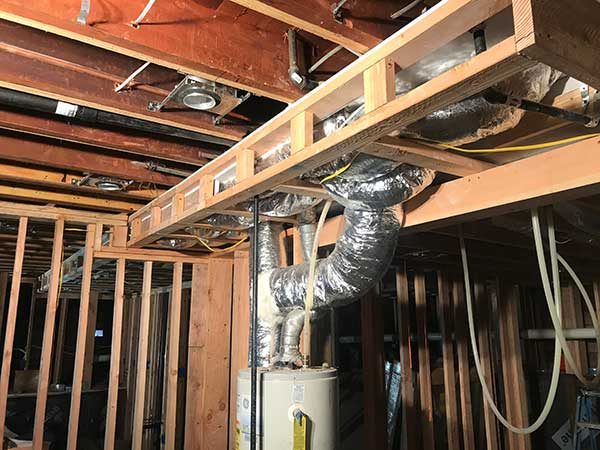
Utilities Come Next

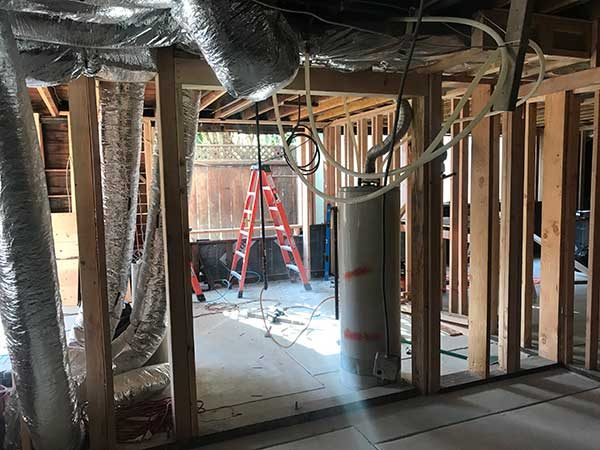
Rough wiring, recessed lighting, plumbing and mechanical installations come next. We typically will create a soffit or chase to hide pipes and ductwork near the ceiling when they need to be run perpendicular to the joists and can’t be installed above the sheetrock. We will usually create a designated mechanical room or zone for the water heater, furnace, etc., often nearby any bathrooms or kitchens so plumbing can be consolidated. For new basements we generally need to redo a large portion of the buildings plumbing, wiring and mechanical as they often need to be updated and are usually no longer in the right locations.
Utilities Come Next
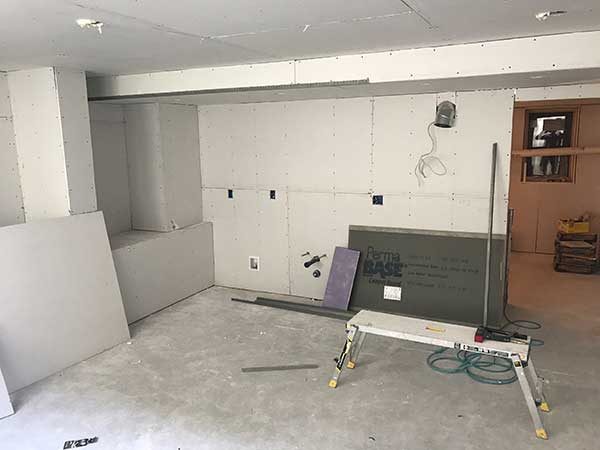
Drywall is Installed

Drywall is Installed

Once all the rough installations are completed, the next step is the installation of drywall, aka wallboard. It is typically installed with screws to avoid any future movement of the panels. Several layers of “mud” are applied to create the finished product. After drywall moldings are installed, including door and window trim, crown molding and baseboard.

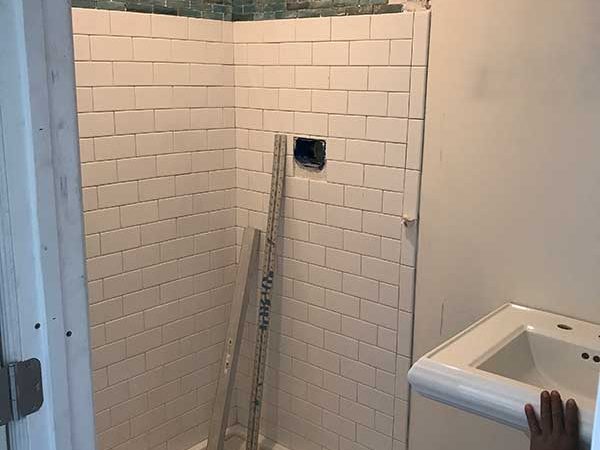
Tile and Fixtures

At this point we are down to finish details. Tile, glass enclosures, doors, cabinets, fixtures, etc. can now be installed.
Tile and Fixtures
Cabinetry

Cabinetry

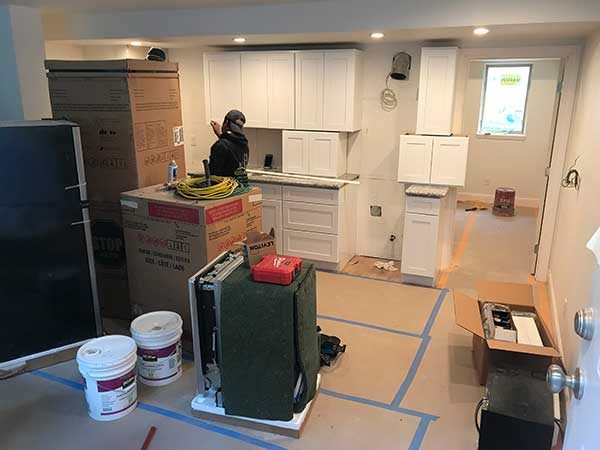
Cabinets can be modular or custom made to exact specifications. This basement has a small rental unit along with space for the owner’s connected to the upstairs. This small kitchen serves the tenants. Once the cabinets are installed countertops are cut to fit and polished, and the sink, fixtures and appliances are put in place.

Sewer Lines for a New Basement Can Be a Big Project

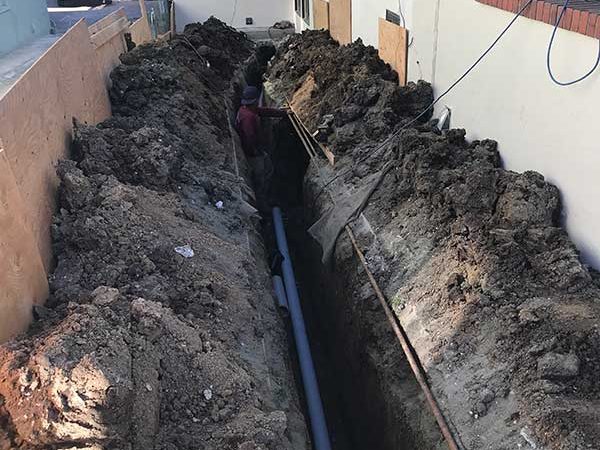
The new drainage plumbing for the basement needs to be integrated with the existing sewer system for the house. Since the new drains are often deeper than the current ones, tie ins need to be made outside of the building, sometimes requiring digging out to the street to get the proper slope.
Sewer Lines for a New Basement
Stucco Lath

Stucco Lath-

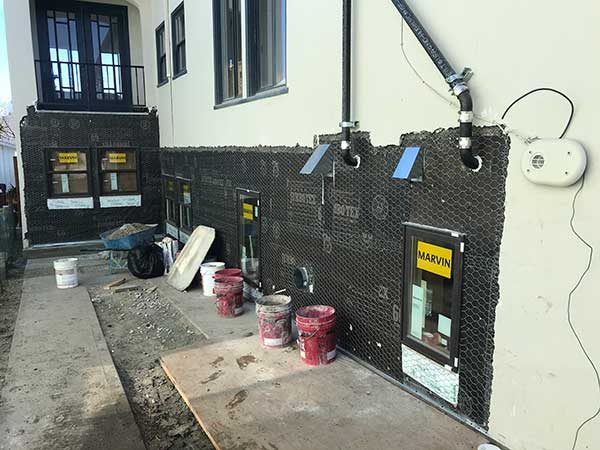
Paper and wire waterproofing, also known as lath, need to be tied into the existing stucco to avoid any future leaks.

New Stucco

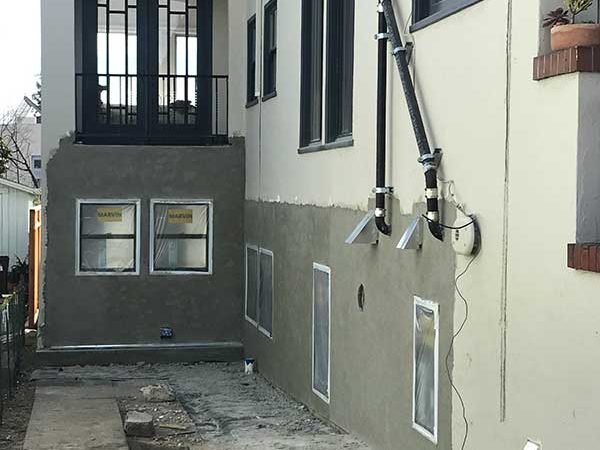
The new stucco is installed as generally a 3-coat process, carefully textured to match the old stucco by our skilled subcontractors.
New Stucco
Finished foundation digout basement

The Finished Product

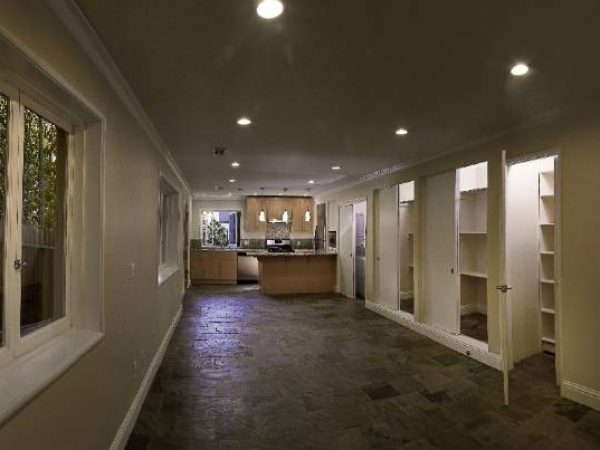
After painting and floors go in as the final step, the basement renovation is complete. In this photo we created a new rental unit for the owner living upstairs, with separate access at the side of the house. We used a plan from a sound engineer to install more elaborate soundproofing in the ceiling to help minimize sound transmission up and down.

Basements Can Provide Unique Design Challenges

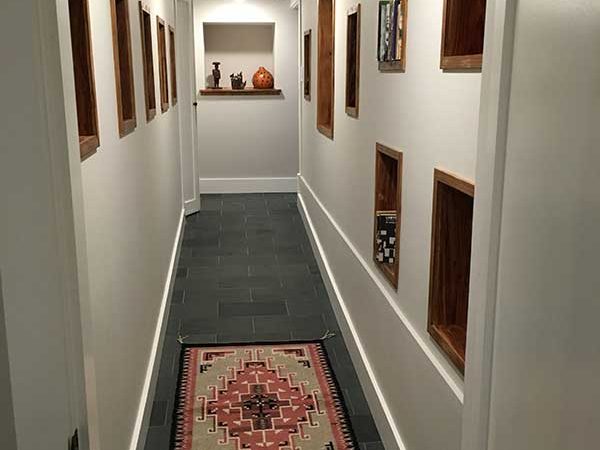
In this project we created a hallway separating the unfinished basement and the new bedroom and bathroom finished space. These built-ins we installed in the walls made this unremarkable hallway a lot more interesting.
Basements Unique Design

Ready to find out the estimated costs?